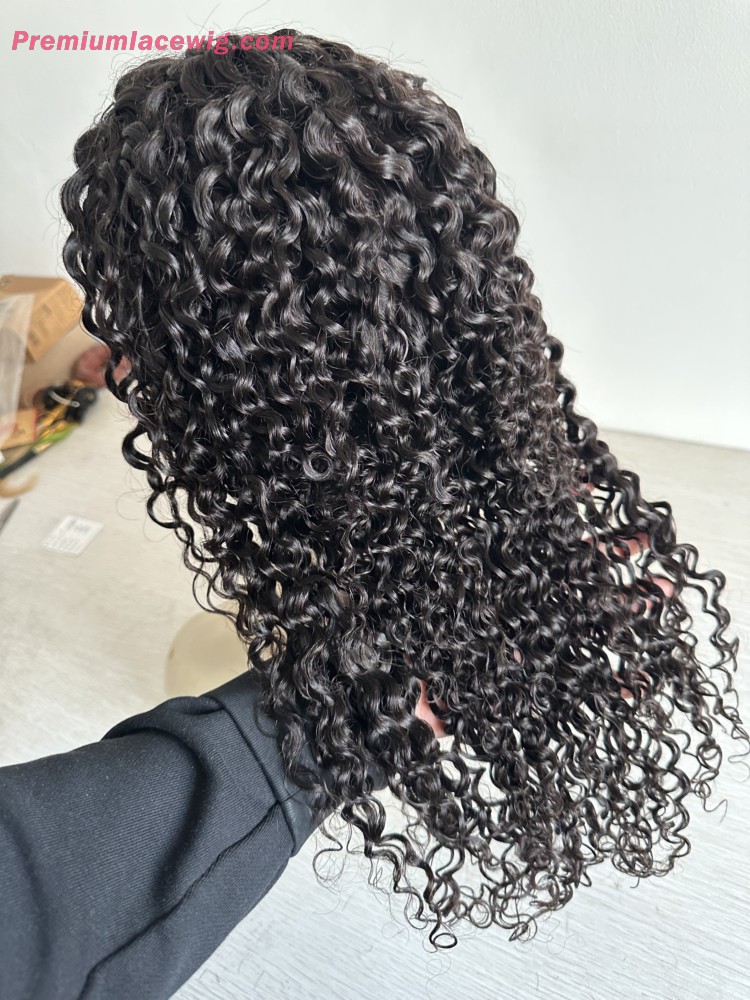
How to Perfectly Install and Slay Your Full Lace Wig
How to Perfectly Install and Slay Your Full Lace WigIntro:Are you ready to transform your look and slay effortlessly with a full lace wig? Whether you're a beginner or a seasoned wig enthusiast, mastering the art of installing a full lace wig is the key to achieving a flawless and natural-looking hairstyle. In this comprehensive guide, we'll walk you through the step-by-step process to help you install and rock your full lace wig like a pro. Get ready to turn heads and feel ultra confident with your stunning hair transformation!1. Prepping Your Hair:Before diving into the actual installation process, let's start with some essential prepping steps to ensure a smooth and seamless experience. Detangle and thoroughly wash your natural hair, followed by conditioning and moisturizing. Additionally, consider braiding or cornrowing your hair to create a flat foundation, which will make the wig installation more secure and comfortable.2. Choosing the Right Wig:When it comes to full lace wigs, there is an array of options available to suit every individual's taste and style. From different hair textures to various lengths and colors, it's crucial to select a wig that not only matches your desired look but also complements your facial features and skin tone. Take your time to find the perfect full lace wig that will make you feel confident and fabulous.3. Wig Preparation:To ensure your full lace wig is ready for installation, there are a few crucial steps to follow. Gently wash the wig with a sulfate-free shampoo and conditioner to eliminate any residue or chemicals. Then, using a wig stand or mannequin head, stretch and secure the wig cap onto the base. This will make it easier to work with during the installation process.4. Applying Adhesive or Glue:Now, it's time to dive into the installation process. Applying adhesive or glue is essential to secure your full lace wig and create a natural-looking hairline. There are various adhesives available, so choose one that suits your preferences and sensitivity. Use a small brush or makeup sponge to evenly apply the adhesive along your hairline, ensuring not to go beyond it. Let the glue dry until it becomes tacky before proceeding to the next step.5. Wig Application:Once the adhesive has become tacky, carefully place the full lace wig onto your head, starting from the front hairline and moving backward. Gently press and secure the wig down, adjusting it to align with your natural hairline. Use a wide-toothed comb or your fingertips to blend your natural hair with the wig's hairline for a seamless appearance.6. Customizing Your Wig:For a truly personalized look, consider customizing your full lace wig. Trim the excess lace along the hairline, ensuring to leave a small amount for future adjustments. Pluck the wig's hairline to create a more natural density, keeping in mind that less is more in this case.Conclusion:Congratulations! You've successfully installed your full lace wig and are now ready to step out into the world with a stunning and confidence-boosting hairstyle. With practice and patience, you'll soon become a pro at installing and slaying your full lace wig effortlessly. So go ahead and embrace your wig journey, experiment with different styles, and unveil a new level of self-expression. Remember, a full lace wig is not just a hair accessory, but a powerful tool to enhance your beauty and rock any desired look. Enjoy the endless possibilities!


